My neighbor asked me recently if I made my jewelry in the garage. It makes sense for metalsmithing, but the garage is not weather-perfect. We live in Virginia -- it's too cold out there in the winter and too muggy in the summer. So where do I work? There is a very nice built-in desk in our office. It has some shelves, several drawers, overhead lighting, an outlet and a small closet next to it. It would be an ideal studio space. Except it's not.
 |
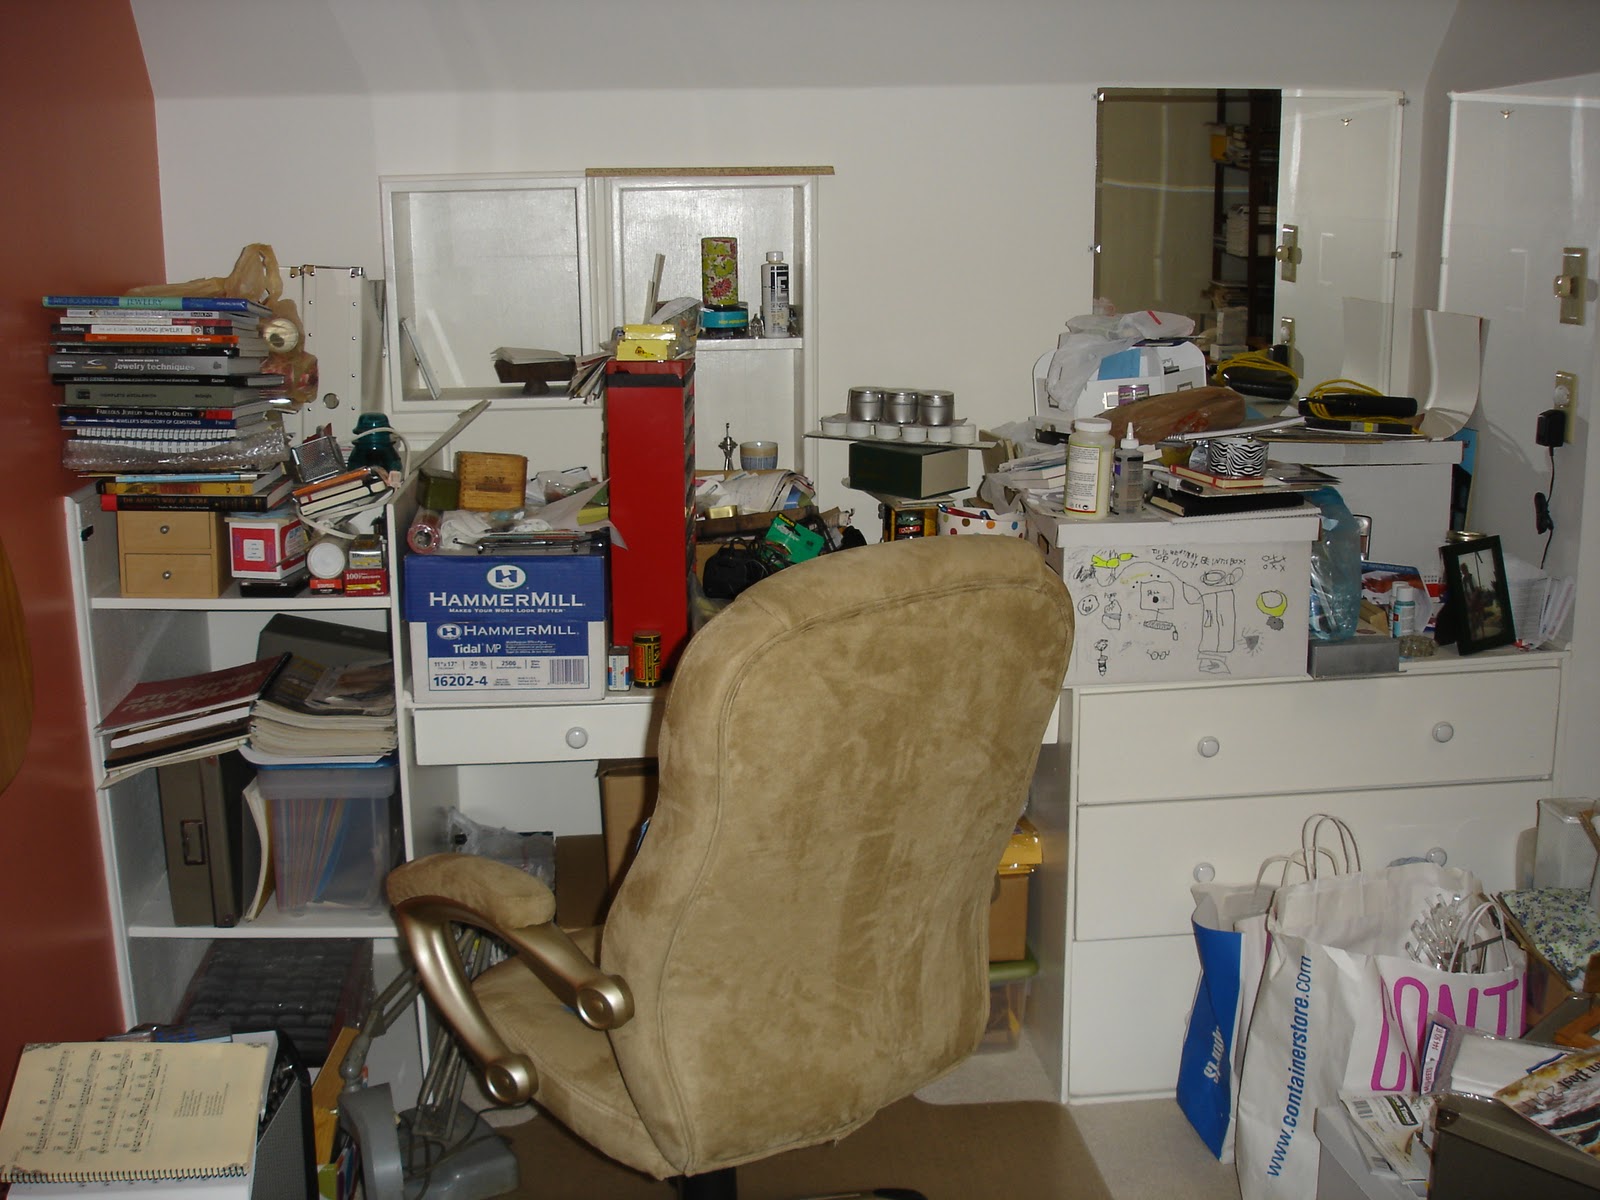
The built-in desk in all of its horror. Metalsmithing books
on the left, packaging and craft show items on the floor,
boxes and bags of non-jewelry supplies on the desk. | |
|
|
|
The desk wasn't supported in the middle and therefore is a bit bowed. Things roll to the middle when set on top of the desk. I need that to be fixed. And I'd like the drawers to be arranged more conveniently for heavy outlet use.
So we're going to rebuild the desk a little and create the perfect studio space for me. Someday. First I have to clean all the crap off the desk. I set things there when we moved in three years ago and they've never found a home. (The curse of the crafter: Too many supplies.) I'm not quite ready to be brutally honest about cleaning this area. In the meantime, the stuff appears to be reproducing, which is only making matters worse. And I am left with no studio space.
 |
My trusty work tray in the family room. Papers to
the left are sketches, and to the right of the bowl is my
must-have pile of sanding sponges. Also: I love my red
microfiber couch, but hate that it leaves butt marks. |
So for now I work in the kitchen. It's actually not bad. The only downside is that I have to clean up every evening so we can make dinner (and so resident 5-year-olds won't get hurt). Otherwise, there's a nice big window, plenty of lighting, lots of outlets, and I'm right next to the sink (more on the importance of being close to a water source in a future post). However, that means my tools are all over the kitchen. I have some stashed in what cupboard space there is, but I'm not motivated to pack too much away. When you're using these tools several times a week, you want to be able to grab them quickly.
I occasionally work in the family room, too. It's where we hang out or watch TV, so I tend to do repetitive work in there -- filing, polishing. I work on a little antique tray I have. A family room might not seem like the best place to have work set up, but I have my daughter trained: Don't touch Mommy's tray or anything on it. She's so well trained that she recently ratted out my mother. "Mommy, Grammy's touching your jewelry! Mommy! She just touched it AGAIN!"
 |
The tool bucket in the kitchen (and, yes,
the boxes to the right are filled with
supplies). The bucket is filled with all
my tools that won't maim small kids. |
My family is extremely nice about the bucket and boxes next to the kitchen table and tray of tools in the family room. No one breathes a word about the
blowtorch sitting on the counter (disassembled, of course -- I'm not trying to kill anyone making sandwiches in my "studio"). It's possible that my family is enabling
me, but I love them for letting me work my own way. My husband occasionally nags me about using the stovetop as part of my work space, but he knows I'm careful. And he's sweet enough that, the one time I was distracted and not careful and therefore melted part of my Dremel case, he didn't even tell me, "I told you so." He just told me to call the Dremel hotline and order another one.
Someday I will have a beautiful little studio in the office. I will not have to clean up silver dust just to be able to slice an apple. I'll be able to leave my tools right on the tabletop and not yell, "Leave the metal where it is! Make yourself some cheese crackers on the other side of the sink!" But I won't be able to look out the window at the birds and trees while I work. I won't have as much space to move around. So I'll admit I'm not rushing things. It might freak people out to know I made their ring in my kitchen, but the kitchen's environment helped me make that ring beautiful. And despite what my neighbor thinks, if you saw our garage, you'd be grateful I settled in the kitchen.